How to Build Your Organizational Chart in PowerPoint
If you're looking for a fast way to build an org chart, why not try creating it in PowerPoint? In this step-by-step guide, you'll learn how to build, edit, and personalize the format of your org chart.

Creating an organizational chart in PowerPoint is not just about adding a visual touch to your presentation; it's about clarity and understanding. It's about showcasing the structure of a company, the hierarchy, and the relationships between different departments and individuals.
Whether you're a seasoned professional or a first-timer, this guide will walk you through the process of building, editing, and personalizing your org chart in Microsoft PowerPoint.
Getting Started with Your Org Chart in PowerPoint
Step 1: Getting Your PowerPoint Ready
- Launch PowerPoint and open a new blank presentation.
- Navigate to the 'Design' tab to select a theme that suits your corporate style.
- Go to the 'Home' tab, click on 'New Slide', and choose a layout that provides ample space for your org chart.
Inserting the Org Chart
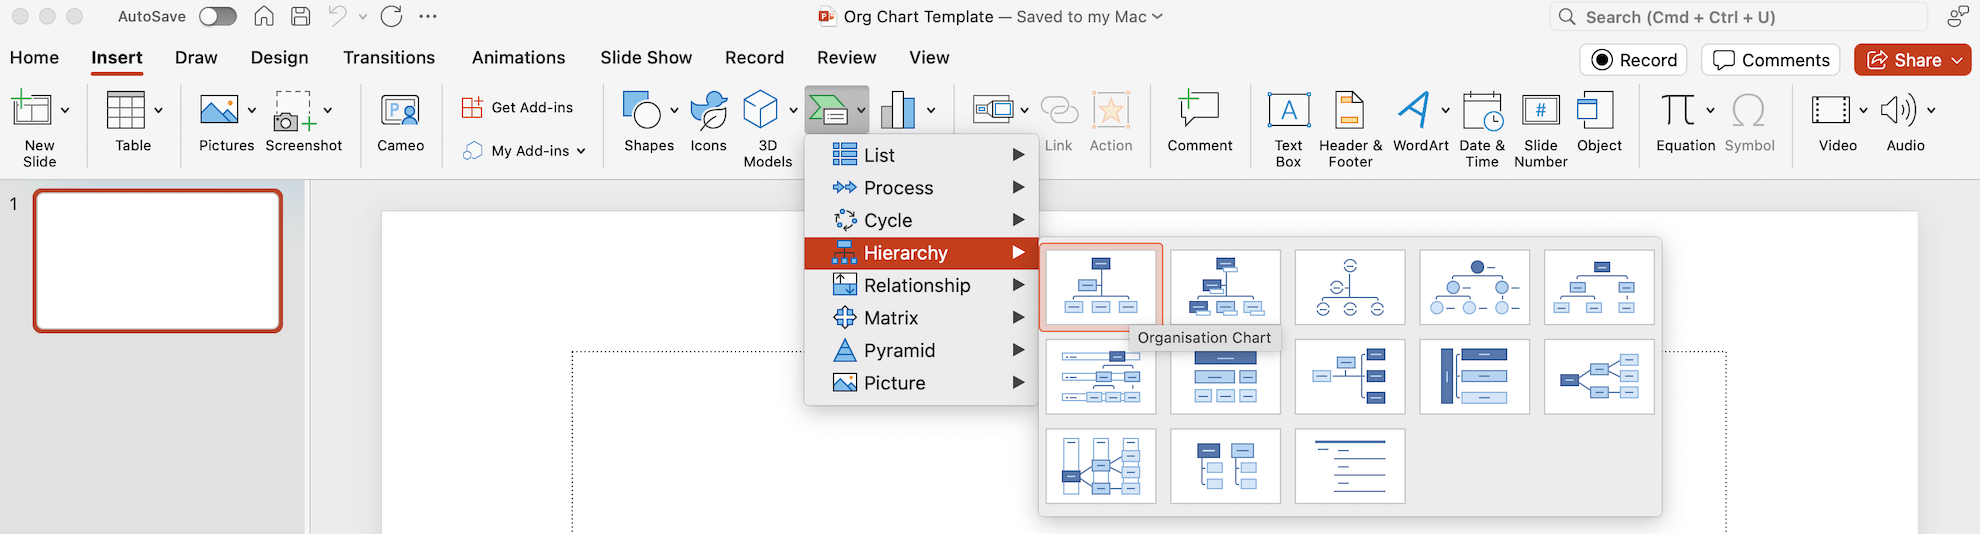
Step 2: Access SmartArt Graphics
- Click on the 'Insert' tab
- Select 'SmartArt' from the Illustrations group.
Step 3: Select the Hierarchy Group
- In the SmartArt Gallery, click on the 'Hierarchy' category to view different types of org charts.
Step 4: Choose an Org Chart Style
- Pick a style that best fits your needs.
- For a traditional org chart, select 'Organization Chart' and click 'OK'.
Building the Structure of Your Org Chart
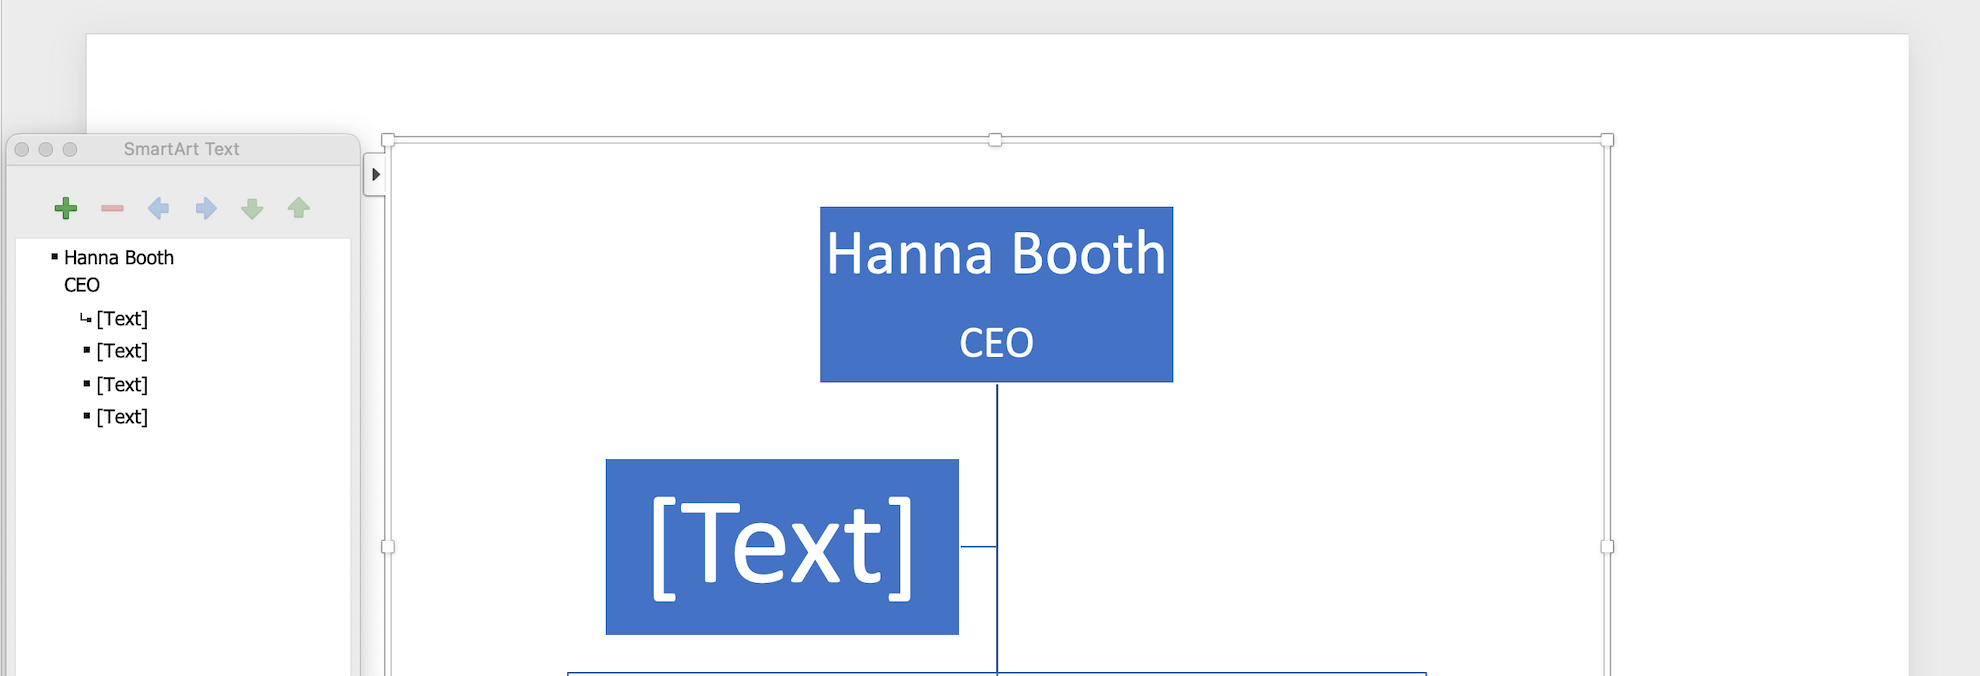
Step 5: Add the Top-Level Position / Org Chart Starting Point
- Click on the top box
- Type the name and title of the highest-ranking person or the starting point of your org chart
Step 6: Insert Subordinate Shapes
- Click on the box below the top position to add subordinates.
- If you need to add multiple subordinates, click on the box and use the 'Add Shape' button under the SmartArt Tools Design tab.
- To quickly add subordinates select the top box and then press 'Enter' or 'Tab'.
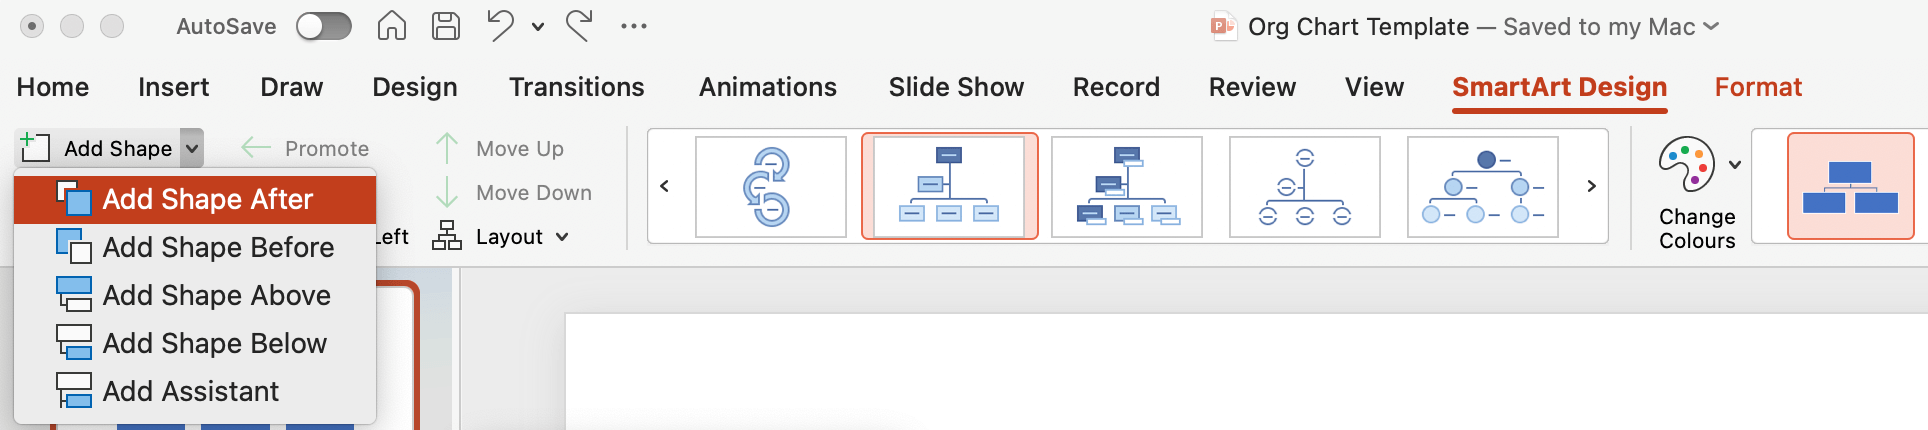
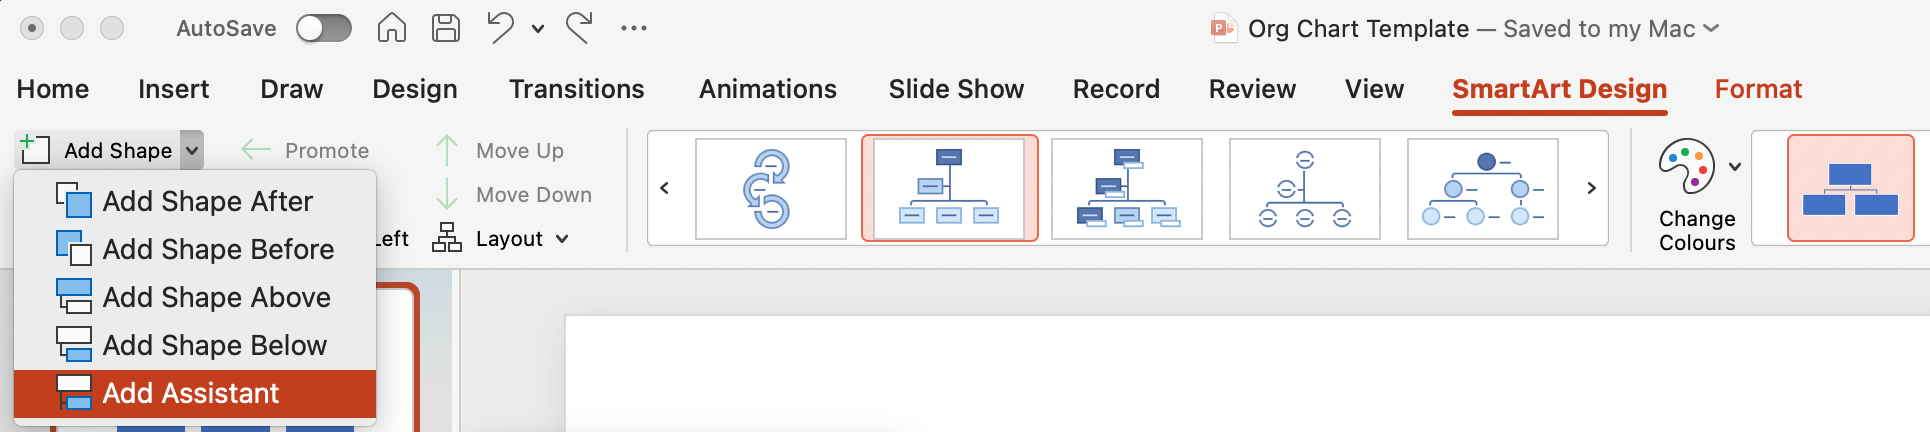
Step 7: Insert Assistant Positions
- For adding assistants, right-click on a box and choose 'Add Shape'.
- Then 'Add Assistant' to insert an assistant box.
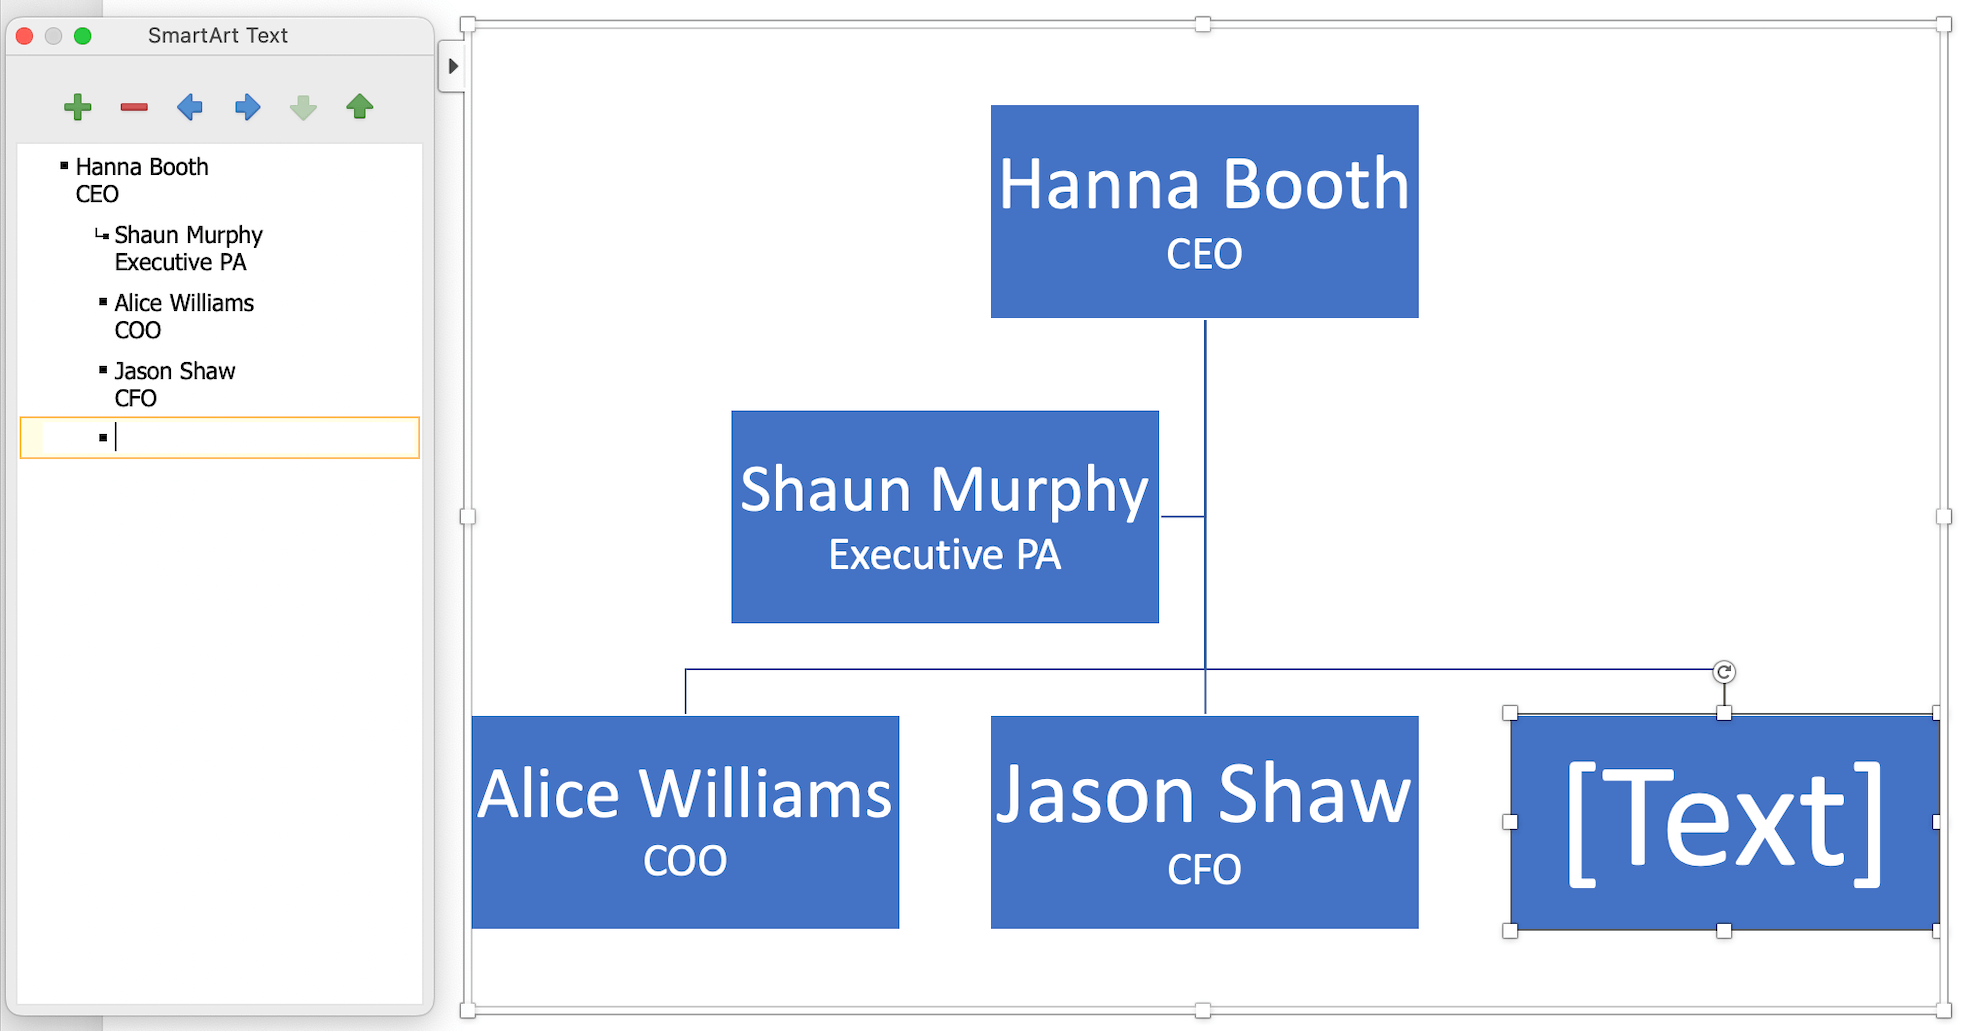
Step 8: Utilize the Text Pane
- For bulk editing, use the text pane by clicking on the control to the left of the SmartArt.
- Here, you can type out the hierarchy in a list format, and PowerPoint will automatically format it into the org chart.
Customizing the Design of Your Org Chart
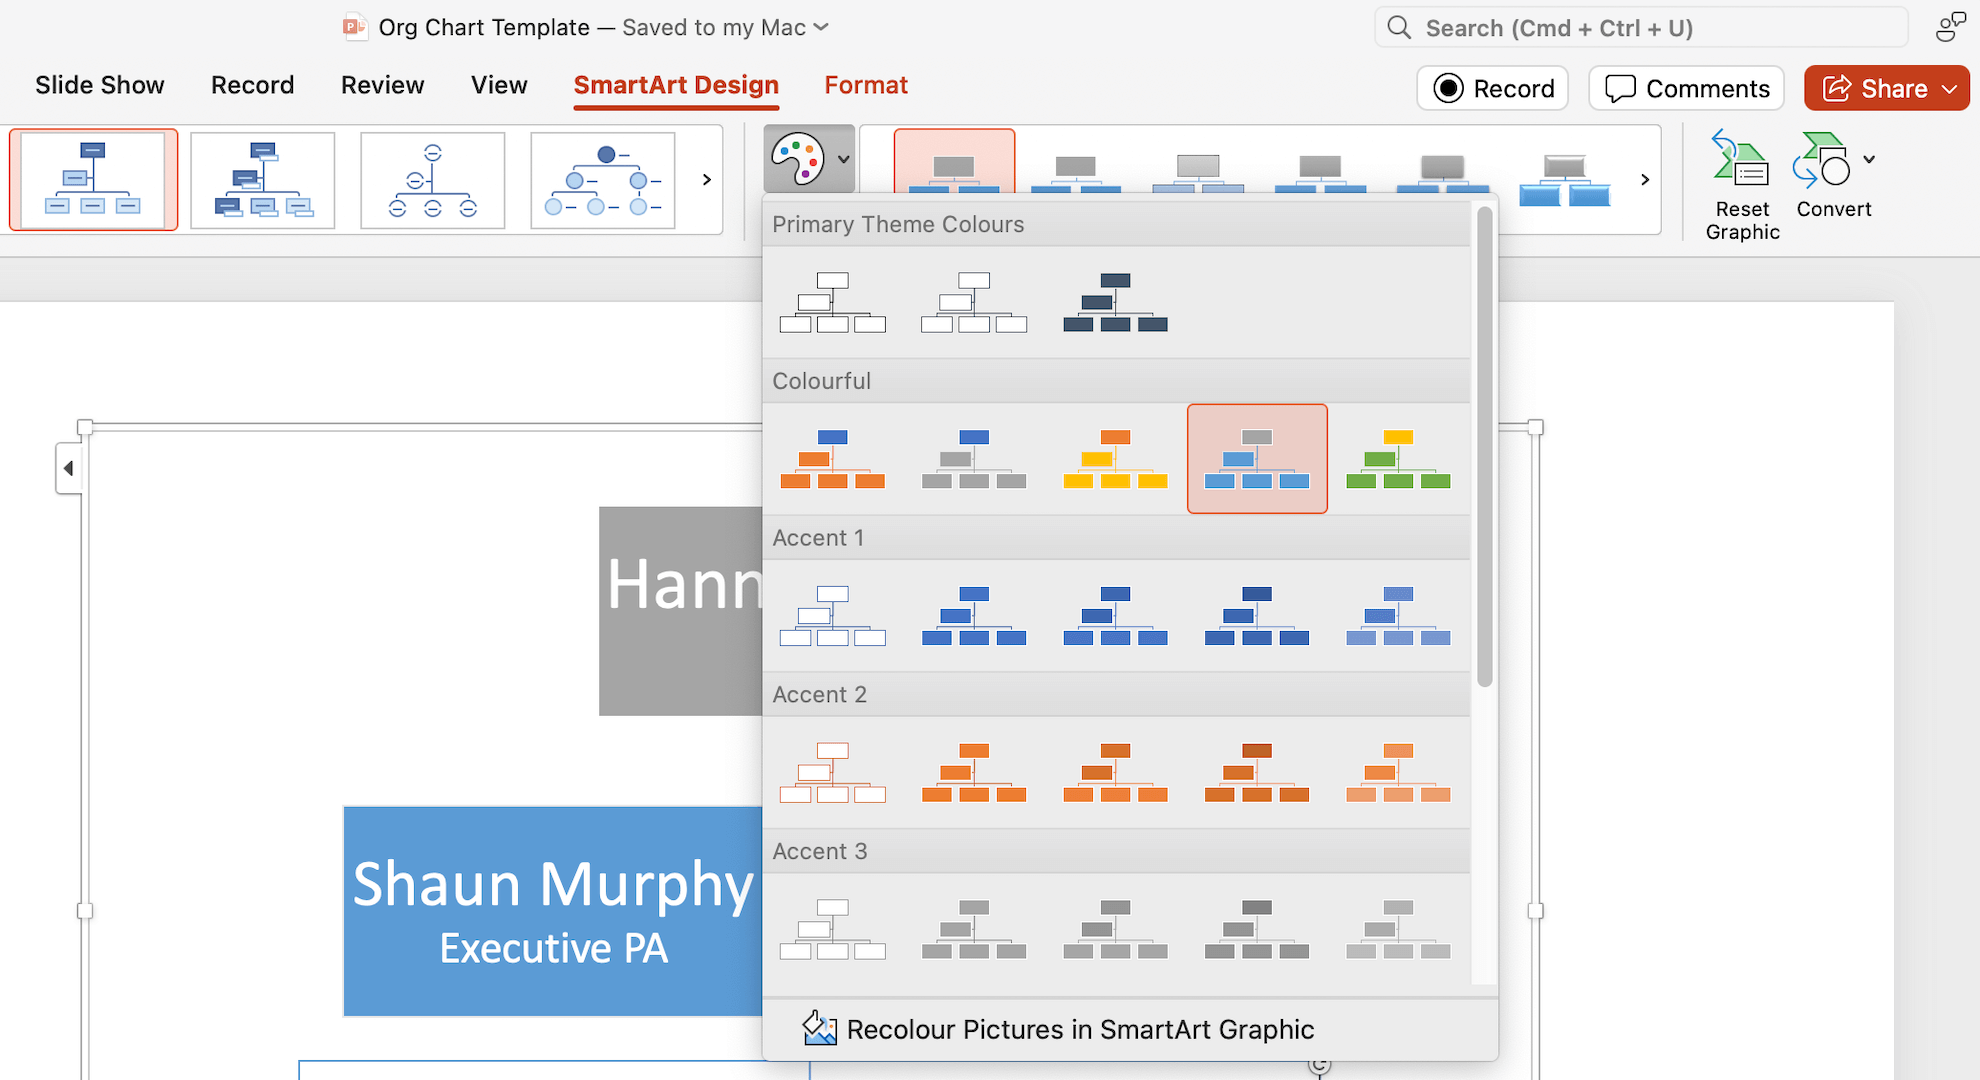
Step 9: Explore Color Schemes
- In the SmartArt Tools Design tab, look for the 'Change Colors' button to explore color options that match your company branding.
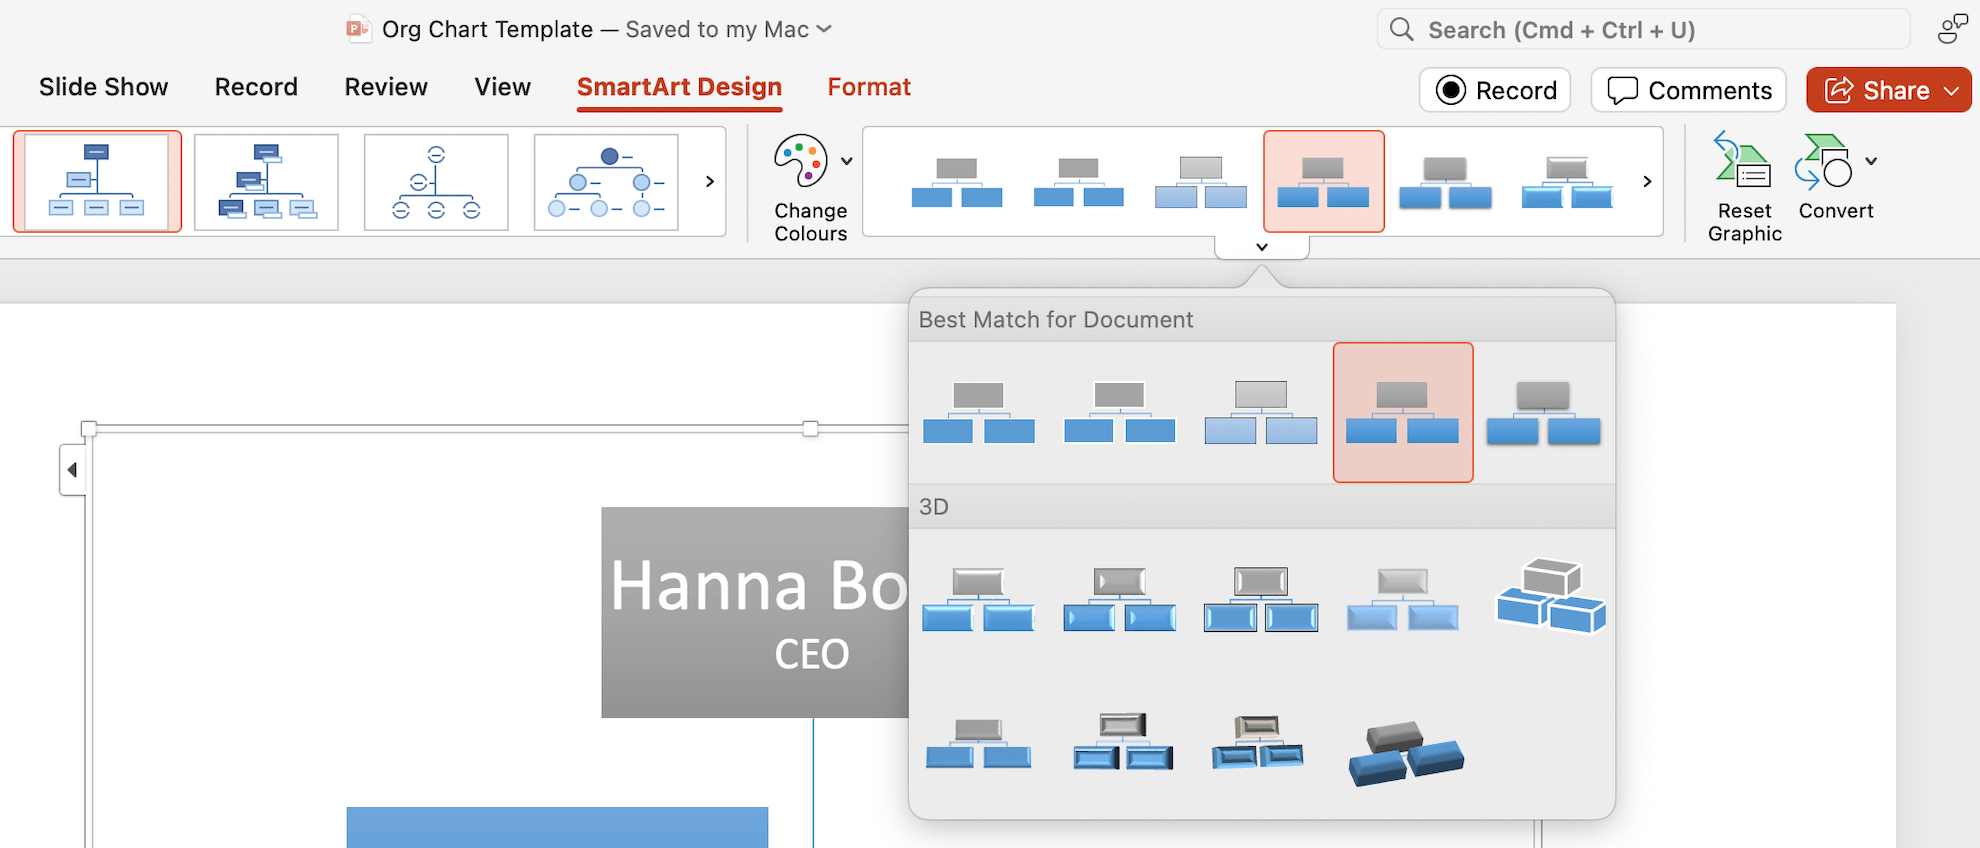
Step 10: Customize Shape Styles
- Use the 'Shape Styles' dropdown to apply a variety of effects, such as glow, soft edges, or 3D effects, to make your org chart stand out.
Step 11: Adjust Box Fill and Outline
- For individual customization, right-click on a box, select 'Format Shape', and tweak the fill color, line color, and line weight.
Step 12: Group and Ungroup Shapes
- If you need to apply uniform styling to multiple boxes, you can group them by selecting the boxes while holding down the 'Ctrl' key, right-clicking, and choosing 'Group'.
- To reverse this, right-click and select 'Ungroup'.
Finalizing and Sharing Your Org Chart
Step 13: Save Your Org Chart
- Click on the 'File' tab, select 'Save As'
- Choose your desired location and file format.
Step 14: Exporting and Sharing Your Org Chart
- Export as PDF: Go to 'File' > 'Export', choose 'Create PDF/XPS Document', and then click 'Create PDF/XPS'. PDFs are universally viewable and maintain the formatting of your chart.
- Save as Pictures: If you want to share just the org chart, you can save it as an image. Right-click on the org chart and select 'Save as Picture'. Choose the format that best suits your needs, such as PNG or JPEG.
- Direct Email: Attach the PowerPoint or PDF file to an email and send it to your intended recipients.
- Email as Link: If the file is too large, upload it to a cloud service like OneDrive or Google Drive, and share it as a link in your email
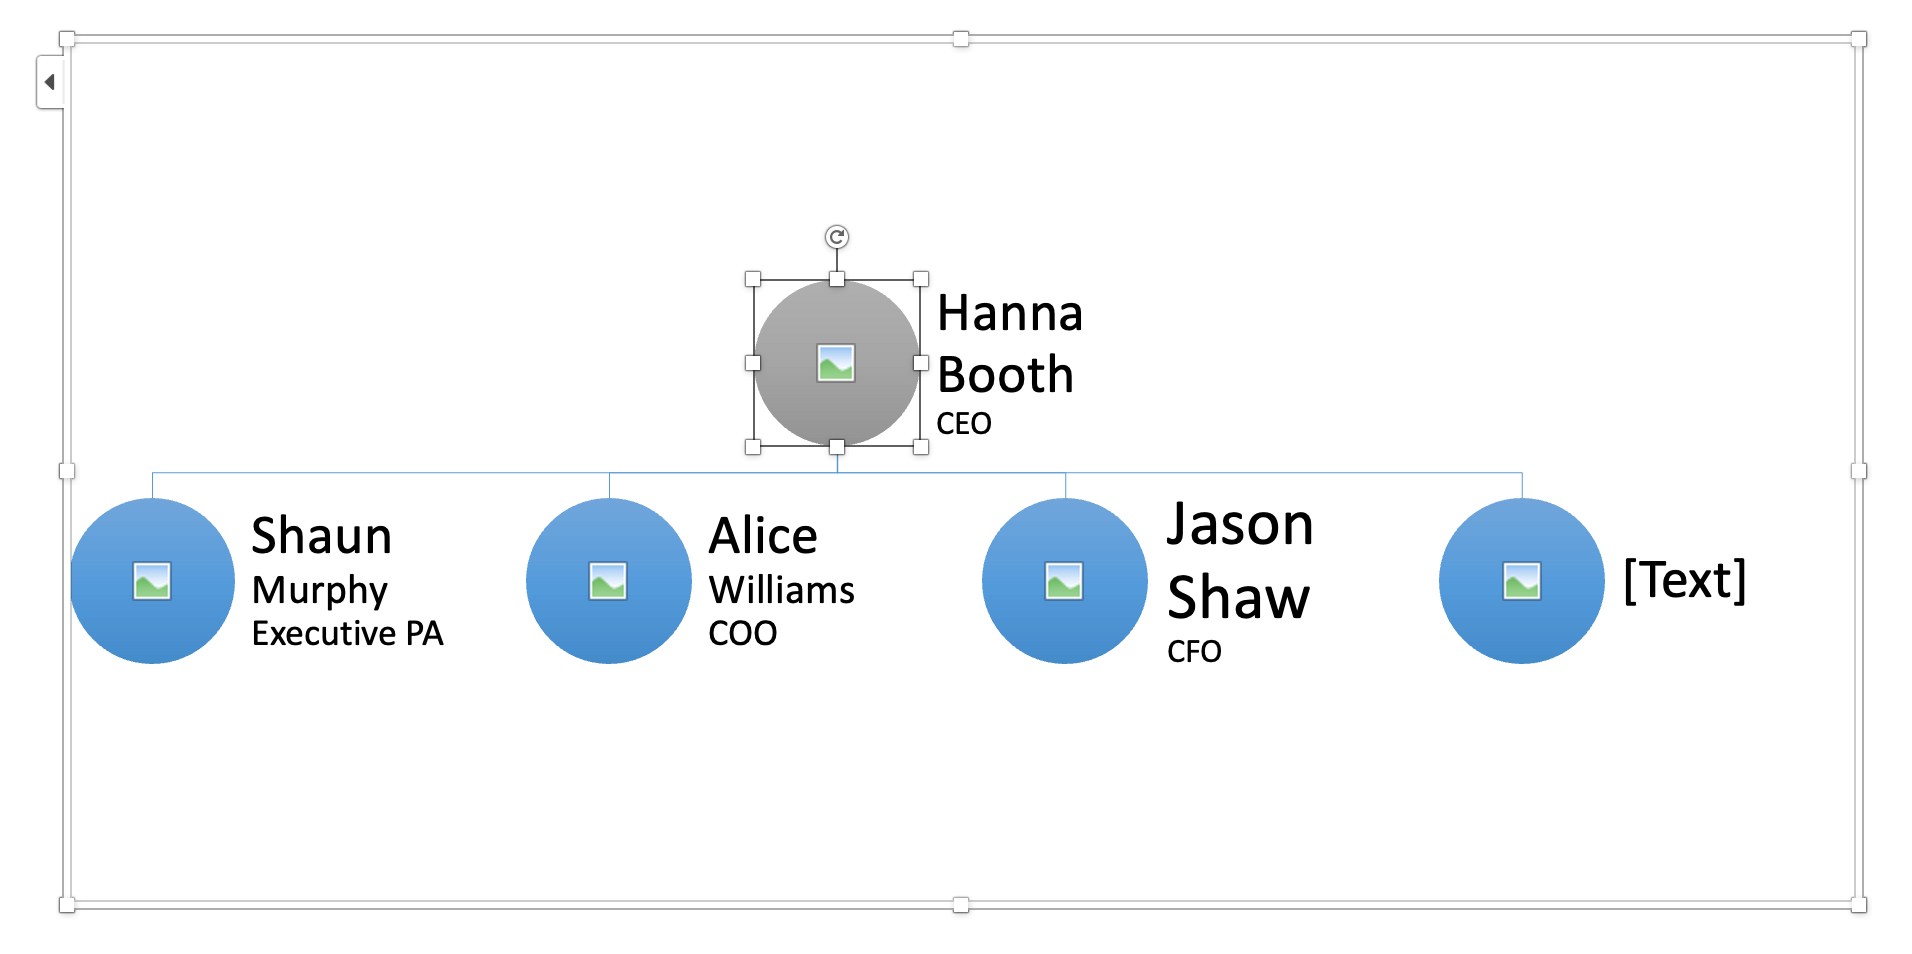
Adding Profile Photos to Your Org Chart in PowerPoint
Incorporating photos into your organizational chart can make it more personal and help team members or stakeholders put faces to names. Here's how to add photos to your org chart in PowerPoint:
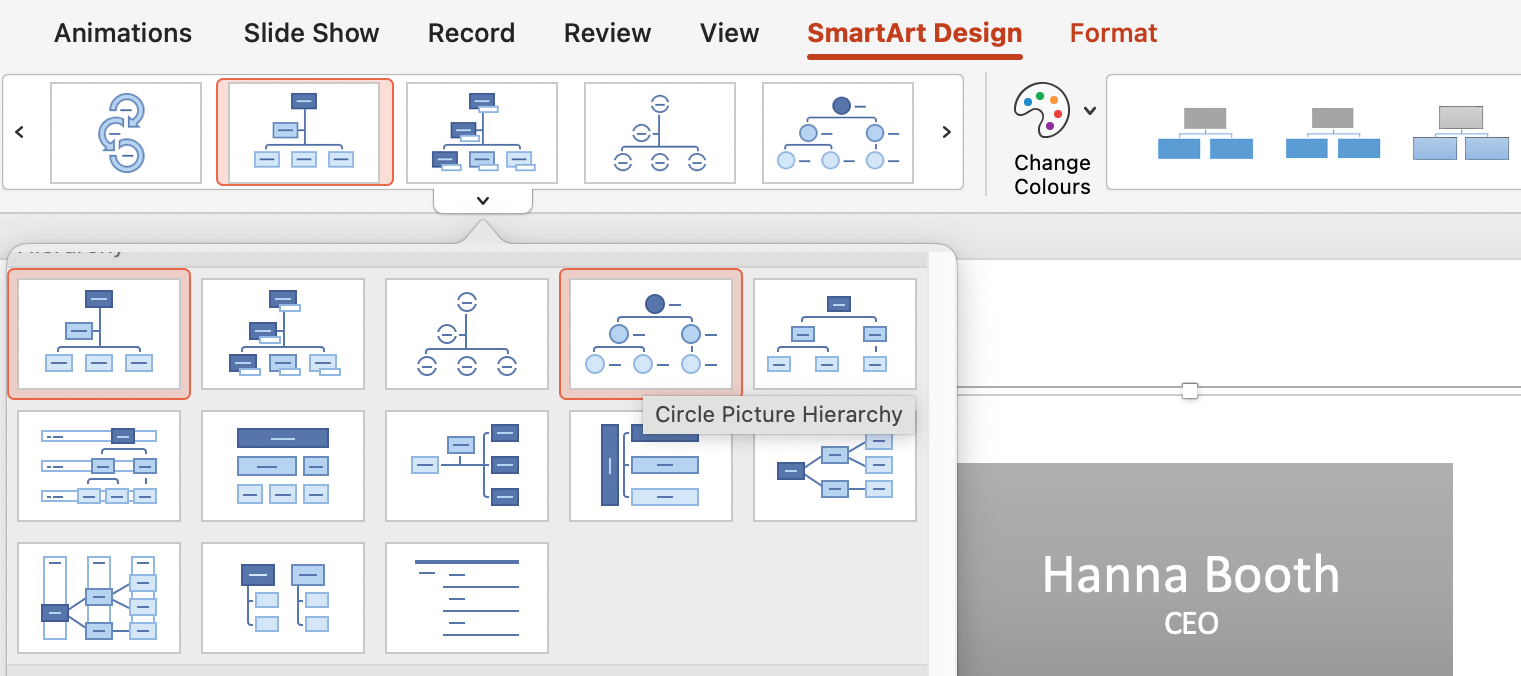
Use SmartArt to Add Profile Photos
- Go to SmartArt layouts.
- Select the layout 'Circle Picture Hierarchy' from the 'Hierarchy' group.
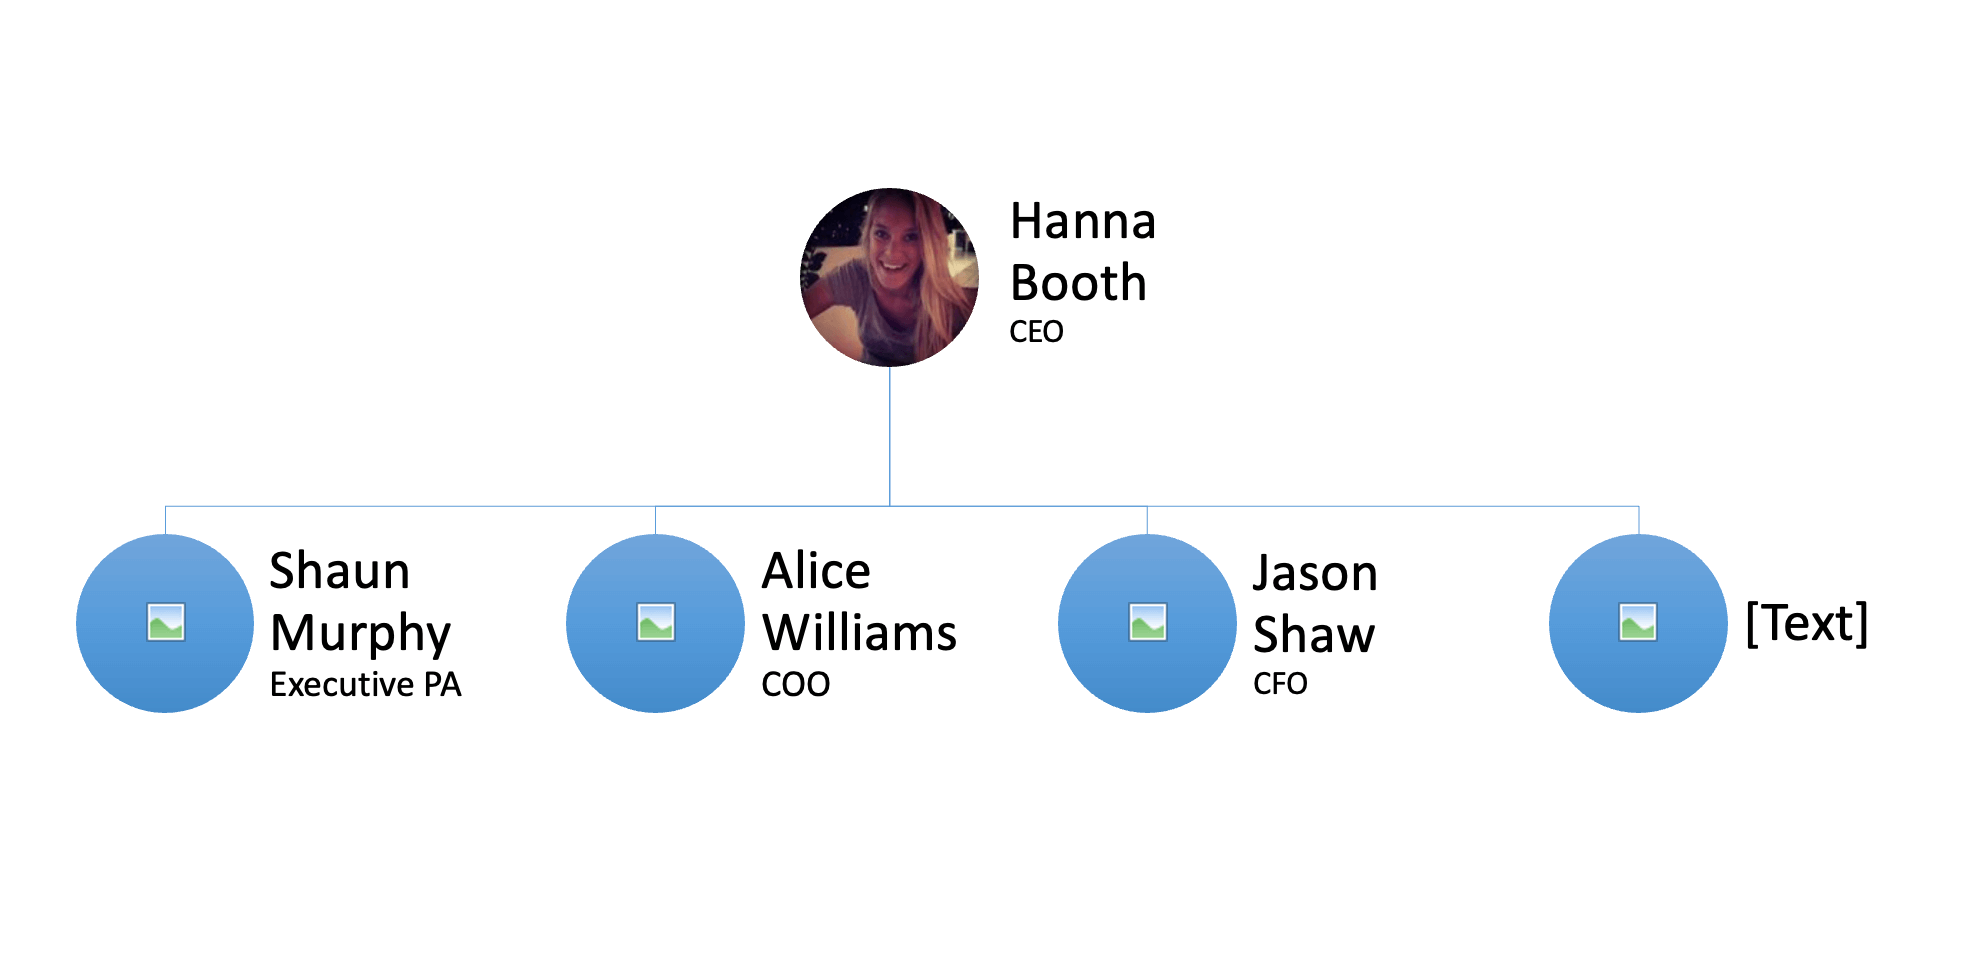
Insert Your Photos
- Click the picture icon in the placeholder where you want to add the photo.
- Then choose the photo you want to add and then click 'Insert' to insert an image directly into your org chart.
Style Your Photos
- Use the 'Picture Tools Format' tab to apply styles to your photos, such as borders or effects, to make them stand out or blend in with your org chart design.
- Apply the same style to all photos for a cohesive look.
Align and Position Photos
- Ensure all photos are aligned consistently within their respective boxes using the alignment tools under the 'Picture Tools Format' tab.
- If a photo overlaps with text or other elements, right-click on the photo and use 'Send Backward' or 'Bring Forward' to layer the elements correctly.
Saving Your Org Chart as a PowerPoint Template
Creating an organizational chart can be a time-consuming process, especially if you need to make one for each department or team. To save time in the future, you can save your org chart as a PowerPoint template. Here's how to do it:
How to Create Your Org Chart as a PowerPoint Template
- Remove Specific Data: If you're creating a template, remove any specific names and positions that won't be relevant for future use.
- Open the File Menu: Click on 'File' in the top-left corner of PowerPoint.
- Choose 'Save As': In the menu that appears, select 'Save As'.
- Select Save Location: Choose a familiar and accessible location to save your template.
- Open the Save As Type Dropdown: Click on the dropdown menu that defaults to 'PowerPoint Presentation (*.pptx)'.
- Choose 'PowerPoint Template': In the dropdown menu, select 'PowerPoint Template (*.potx)'.
- Name Your Template: Give your template a descriptive name that you'll remember and recognize for future use.
- Save: Click 'Save' to create your template.
Using Your Org Chart PowerPoint Template
- Create a New Presentation: When you want to use your template, open PowerPoint and select 'New'.
- Go to 'Personal': Click on 'Personal' to view custom templates you've created.
- Select Your Template: Find the org chart template you saved and select it to start a new presentation based on the template.
Share Your Template with Others
- Locate the Template File: Go to the location where you saved the template file.
- Copy the Template: Right-click on the file and choose 'Copy'.
- Distribute the Template: Share the template file with your colleagues via email, a shared network drive, or a cloud storage service.
By saving your organizational chart as a PowerPoint template, you ensure consistency across presentations and save time for yourself and your team. This way, you can maintain a standardized look for your org charts across different departments or projects, and anyone in your organization can create new org charts by simply inputting the relevant data into the pre-designed template.
Tips for Your Org Chart
- Adjusting Spacing: If your org chart looks cramped, right-click on a box and select 'Layout' to adjust spacing.
- Aligning Boxes: Use the 'Align' tool under the 'SmartArt Design' tab to ensure all boxes are properly aligned.
- Resizing the Org Chart: If your org chart is too large or small, select it and use the corner handles to resize it while maintaining the aspect ratio.
- Control Text Alignment: Adjust the alignment of text in the boxes by using the 'Align Text' button in the SmartArt Tools Format tab to ensure that the text is uniformly placed.
- Customize Lines and Connectors: Right-click on a connector line to change its style or color.
- Apply Animations: Select your org chart and go to the 'Animations' tab to add effects that will reveal the hierarchy in stages during your presentation.
Alternate Tools for Building Your Org Chart
While PowerPoint is a common tool for creating organizational charts, several other software options can offer more specialized features or different types of flexibility. Here's a look at some alternatives:
OneDirectory
OneDirectory is a cloud-based employee directory platform that allows you to create interactive org charts directly from your Office 365 user data. The tool automatically updates your org chart as your company changes, reflecting new hires, role changes, and departures in real-time.
Microsoft Word
For those who are more comfortable with Word, it also offers SmartArt graphics, including hierarchy charts that can be used for org charts.
 Greg Bennett
Microsoft Excel
Excel can be used to create org charts if your data is already in a spreadsheet format. You can use available templates or create a chart from scratch using the built-in tools.
Microsoft Visio
Visio is a diagramming tool that offers advanced features for creating professional organizational charts.
Greg Bennett
When choosing an alternative tool for building your org chart, consider the size of your organization, the frequency of updates needed, the level of detail required, and where the data for your org chart is coming from.
Conclusion
Building an organizational chart in PowerPoint is a straightforward process that can have a significant impact on your company's communication and understanding of its management structure. By following these steps, you can create a clear, professional-looking org chart that will serve as a valuable tool for your organization.
In the end, an org chart is more than just an HR diagram; it's a reflection of your company's culture and operational structure. Take the time to craft it carefully, and it will pay dividends in terms of organizational clarity and efficiency.